次は、記事にボタンを設置CSSコードを追加する方法をします。
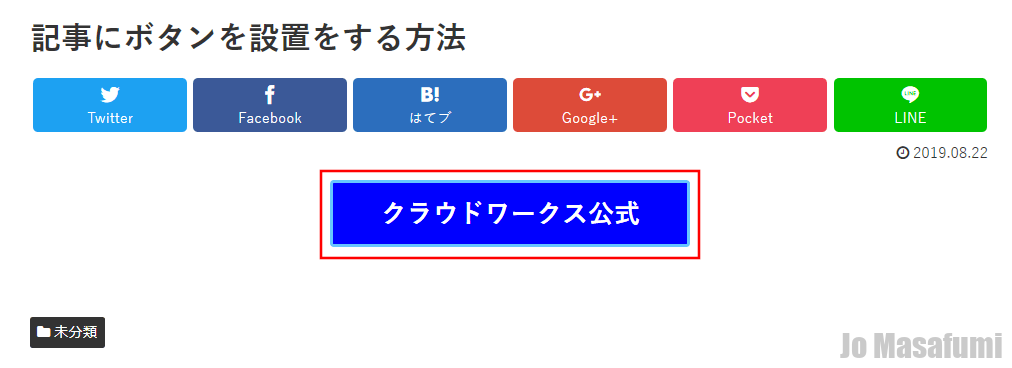
記事にボタンを設置CSSコードを追加する方法
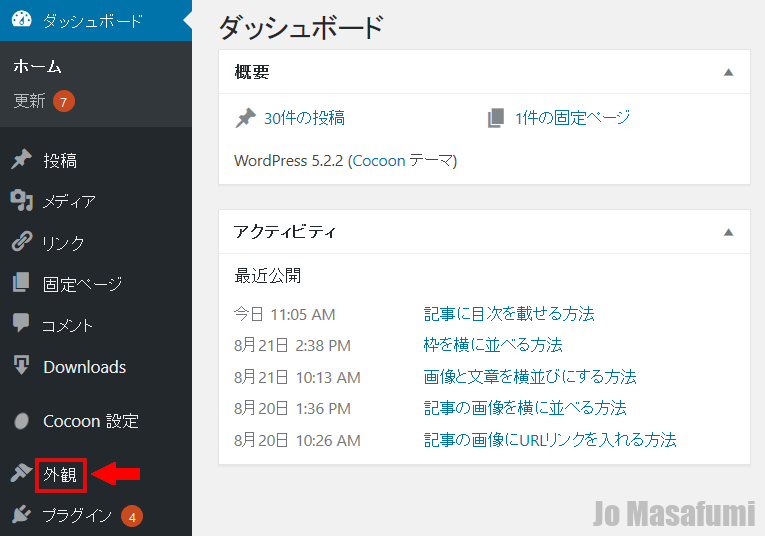
ワードプレスの管理画面を開きます。
左下の「外観」を押します。
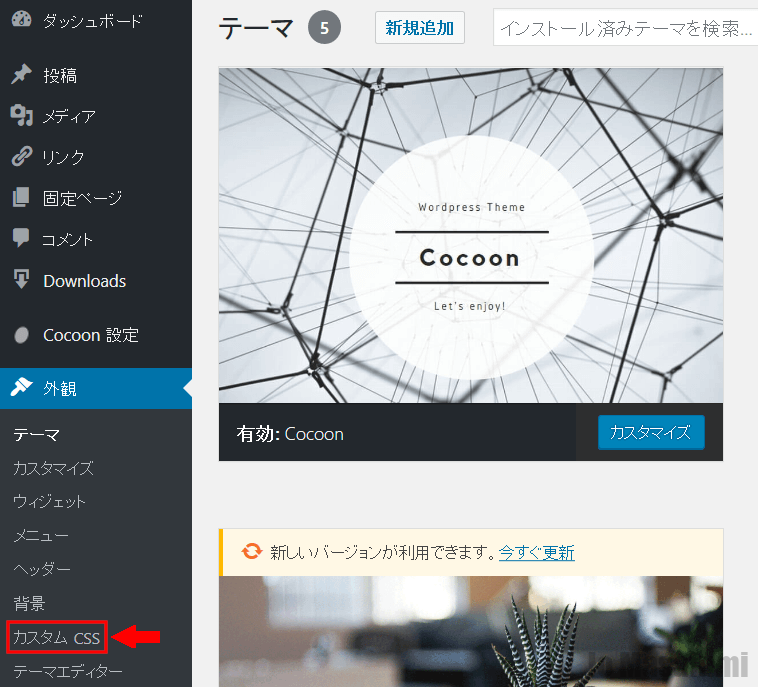
左下の「外観」の下の「カスタムCSS」を押します。
一番下の行に移動します。
キーボードの「Enter」を押して、1行ふやします。

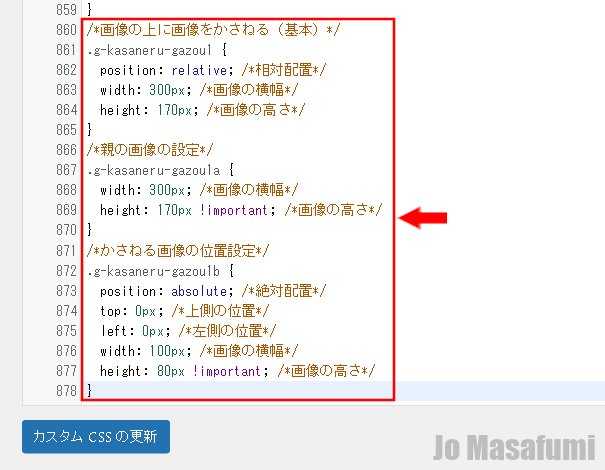
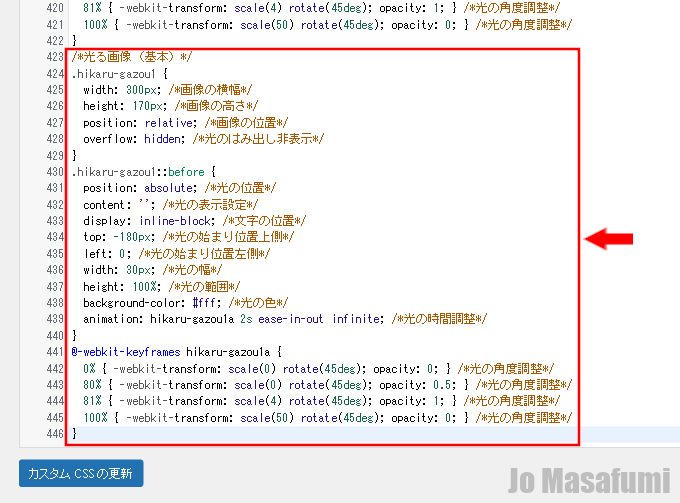
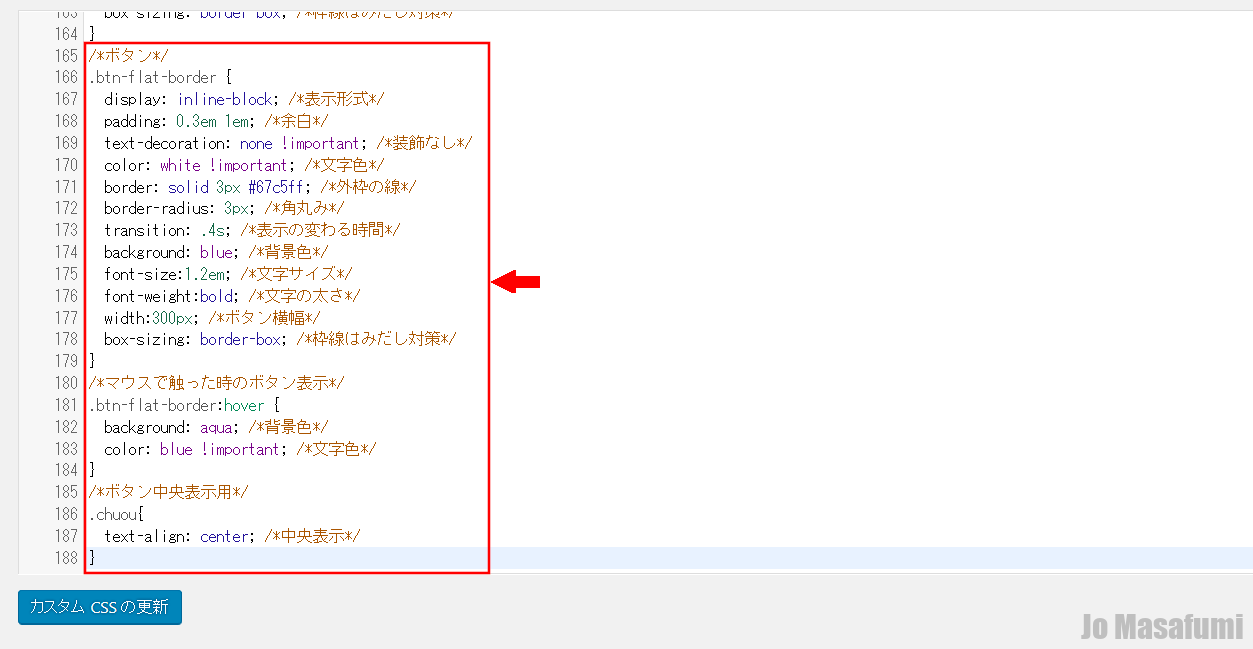
下記のCSSコードをコピーして、一番下の行に貼り付けます。
/*ボタン*/
.btn-flat-border {
  display: inline-block; /*表示形式*/
  padding: 0.3em 1em; /*余白*/
  text-decoration: none !important; /*装飾なし*/
  color: white !important; /*文字色*/
  border: solid 3px #67c5ff; /*外枠の線*/
  border-radius: 3px; /*角丸み*/
  transition: .4s; /*表示の変わる時間*/
  background: blue; /*背景色*/
  font-size:1.2em; /*文字サイズ*/
  font-weight:bold; /*文字の太さ*/
  width:300px; /*ボタン横幅*/
  box-sizing: border-box; /*枠線はみだし対策*/
}
/*マウスで触った時のボタン表示*/
.btn-flat-border:hover {
  background: aqua; /*背景色*/
  color: blue !important; /*文字色*/
}
/*ボタン中央表示用*/
.chuou{
  text-align: center; /*中央表示*/
}
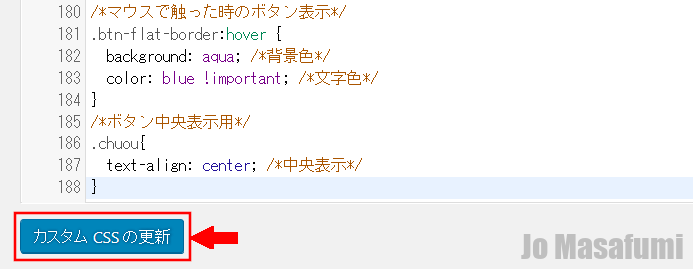
貼り付けました。
一番下の「カスタムCSSの更新」を押します。
↑じょうまさふみに学習状況を報告すると喜びます(^^)/