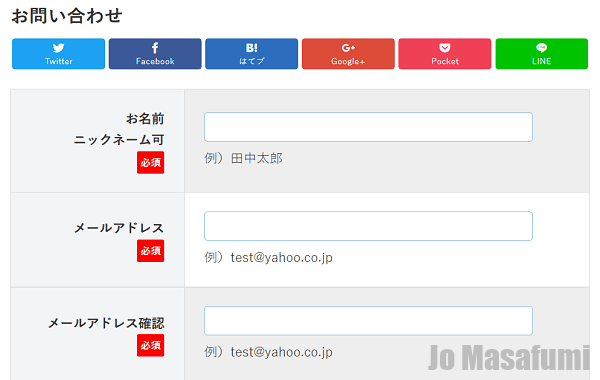
次は、お問い合わせページのデザイン変更をします。
お問い合わせページのデザイン変更
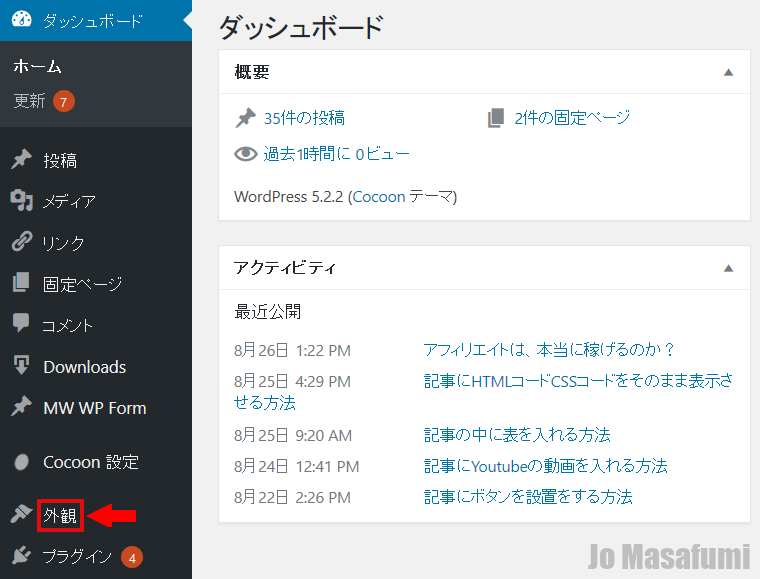
ワードプレスの管理画面を開きます。
左下の「外観」を押します。
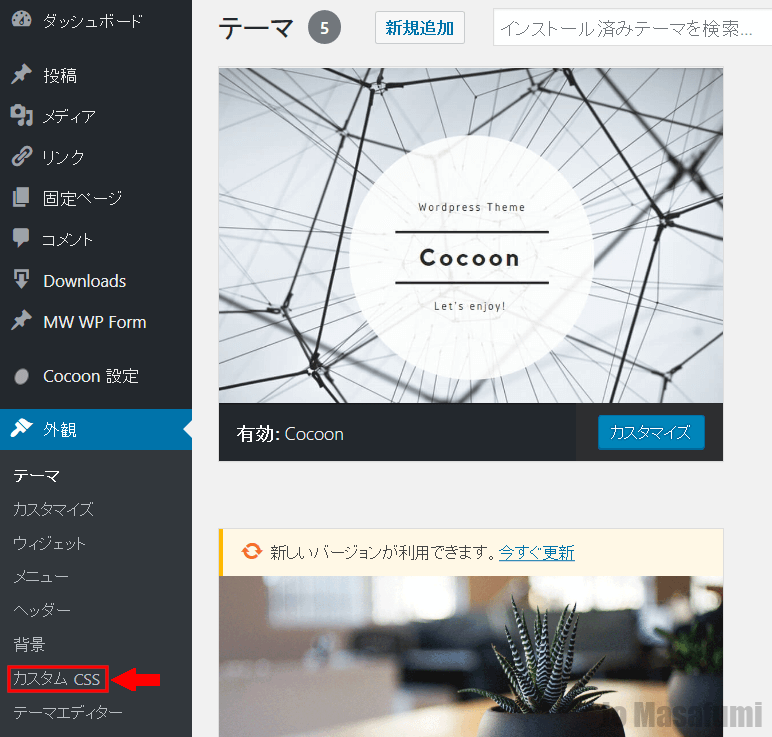
左下の「外観」の下の「カスタムCSS」を押します。
一番下の行に移動します。
キーボードの「Enter」を押して、1行ふやします。
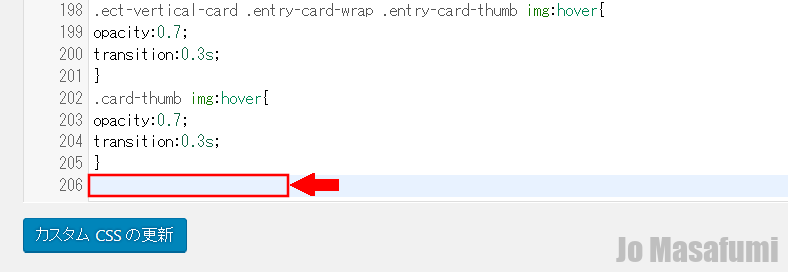
下記のCSSコードをコピーして、一番下の行に貼り付けます。
/* ----------------------------------------
MW WP Form背景色の変更
----------------------------------------- */
.wpcf7c-conf {
    background-color: #F5F5F5; /* 背景色 */
    color: black; /* 文字色 */
    border: 1px solid #AEAEAE; /* 周りの線: 太さ 線種 線の色 */
}

/* ----------------------------------------
MW WP Form ボタンのデザイン変更
------------------------------------------*/
input.wpcf7c-btn-back,
input.wpcf7-submit,
input.wpcf7-confirm {
    width: 8em; /* ボタンの横幅: 8文字分の大きさ */
    height: 2em; /* ボタンの高さ: 2文字分の高さ */
}
input.wpcf7-confirm,
input.wpcf7-submit {
    background: green;	/* 背景色を緑に */
    color: #fff;	/* 文字色を白に */
    border-color: #9ABB9A #80B577 #80B577 #9ABB9A;
    /* 周りの線を緑系に */
}
input.wpcf7c-btn-back {
    background: lightgray;
}

/* -----------------------------------------
MW WP Form 戻るボタンと送信ボタンの間の余白を調整
-------------------------------------------*/
input.wpcf7c-btn-back {
    margin-right: 1em;
}
/* ContactForm7の横並びテーブル化レスポンシブ調整 */

/*テーブルを親要素の幅いっぱいに伸ばす*/
.table-res-form {
    width: 100%;
	margin-top:20px;
}
/*一行ごとに上ボーダー*/
.table-res-form tr {
    border-top: 1px #DDD solid;
}
/*一番上の行だけボーダーなし*/
.table-res-form tr:first-child {
    border-top: none;
}
/*奇数行だけ背景色つける*/
.table-res-form tr:nth-child(2n+1) {
    background: #eee;
}
/*thとtd内の余白指定*/
.table-res-form th, .table-res-form td {
    padding: 1.5em;
}
/*th(項目欄)は30%幅、テキストを右寄せ*/
.table-res-form th {
    width: 30%;
    text-align: right;
}
/*「必須」部分のスタイリング*/
.table-res-form .requied {
    font-size: 0.8em;
    color: #FFF;
    display: inline-block;
    padding: 0.3em 0.3em 0.2em;
    background: red;
    border-radius: 2px;
}

/*ここから768px以下の指定*/

@media only screen and (max-width: 768px) {
     /*thとtdをブロック化して幅100%にして、縦積み*/
    .table-res-form th, .table-res-form td {
        width: 100%;
    }
     /*th(項目名)欄の不要な余白削除・テキスト左寄せ*/
    .table-res-form th {
        padding-bottom: 0;
        text-align: left;
    }
     /*不要な最終行の左のthを非表示にする*/
    .table-res-form .empty {
        display: none;
    }
}

/*ここまで768px以下の指定---終わり*/

/*ここから入力欄のスタイル指定*/

/*各入力フォームスタイリング*/
.table-res-form input[type="text"], input[type="email"], textarea {
    border: 1px #89BDDE solid;
    padding: 0.5em;
    border-radius: 5px;
    margin-bottom: 0.5em;
    width: 90%;
}
/*入力欄にフォーカスしたら変化*/
.table-res-form input[type="text"]:focus, textarea:focus {
    background: #EEFFFF;
    box-shadow: 0 0 1px 0 rgba(0, 0, 0, 0.5);
}
/*送信ボタンスタイリング*/
.table-res-form input[type="submit"] {
background: green;	/* 背景色を緑に */
    color: #fff;	/* 文字色を白に */
    border-color: #9ABB9A #80B577 #80B577 #9ABB9A;
    /* 周りの線を緑系に */
	font-size:1em;
	font-weight: bold;
	padding:10px;
	width:auto;
}
/*送信ボタン・マウスオーバー時スタイリング*/
.table-res-form input[type="submit"]:hover {
    background: #006599;
    box-shadow: none;
}
/*確認画面非表示*/
.mw_wp_form_preview .gray{ display:none; }
.waku{
        border:solid 1px;
	margin: 2em auto;
}
/*送信完了文字*/
.situmonmozi{
  font-size:1.5em;
  font-weight: bold;
}
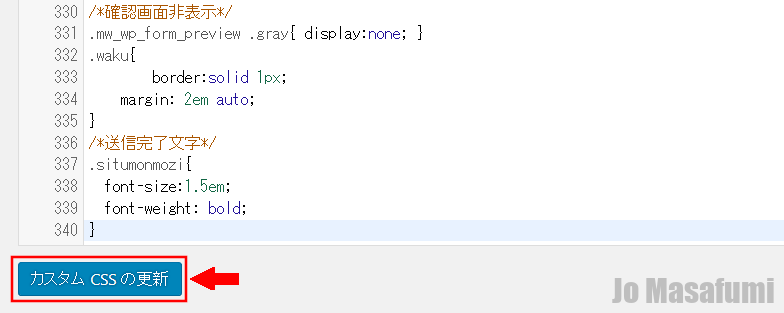
貼り付けました。
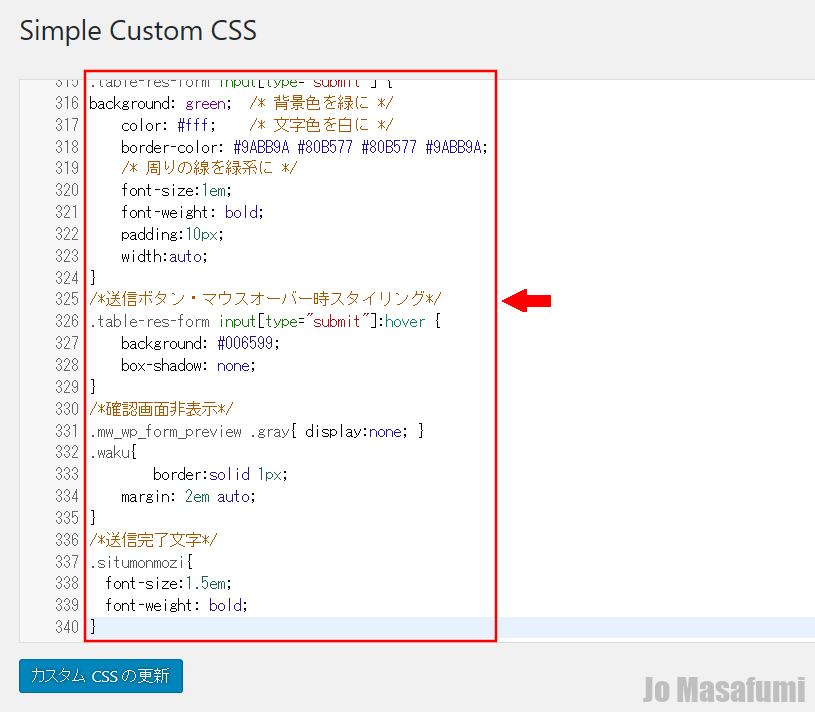
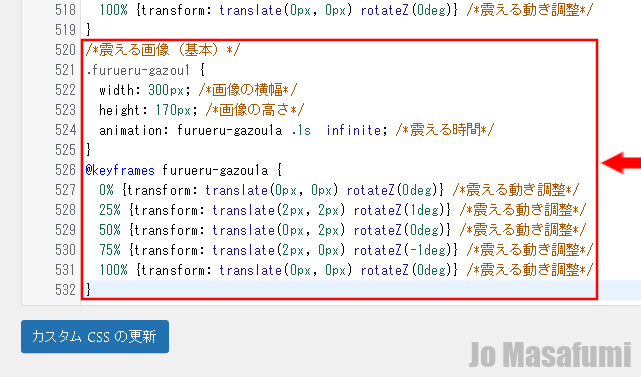
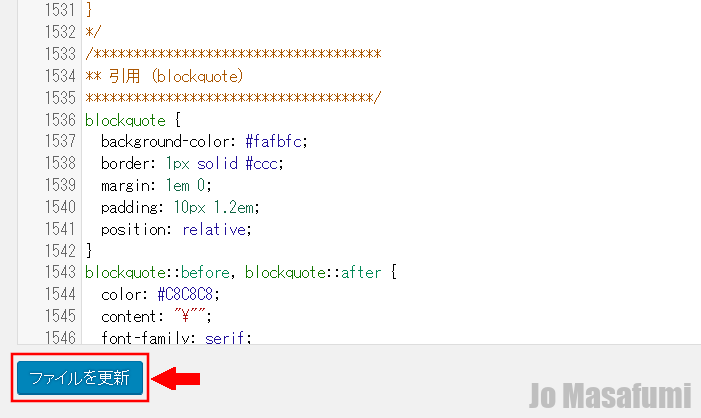
一番下の「カスタムCSSの更新」を押します。
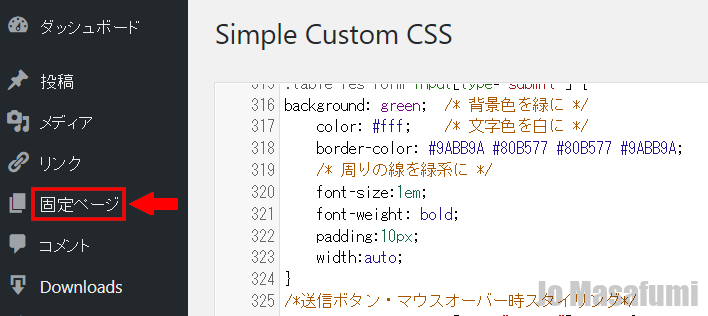
左上の「固定ページ」を押します。
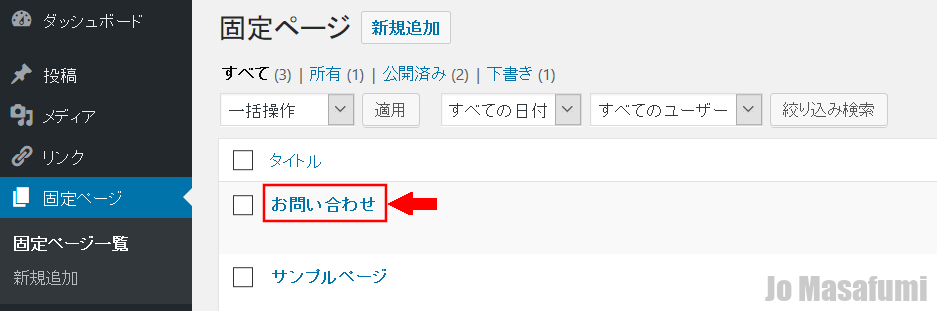
「お問い合わせ」を押します。
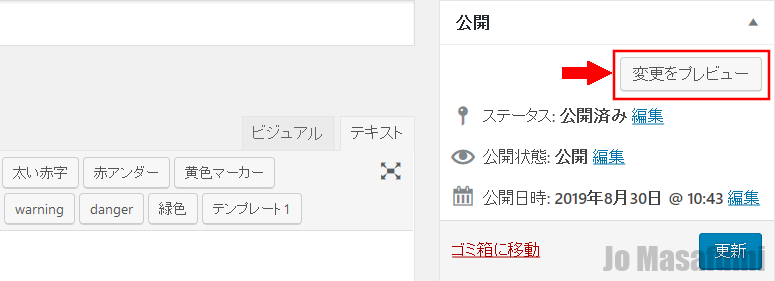
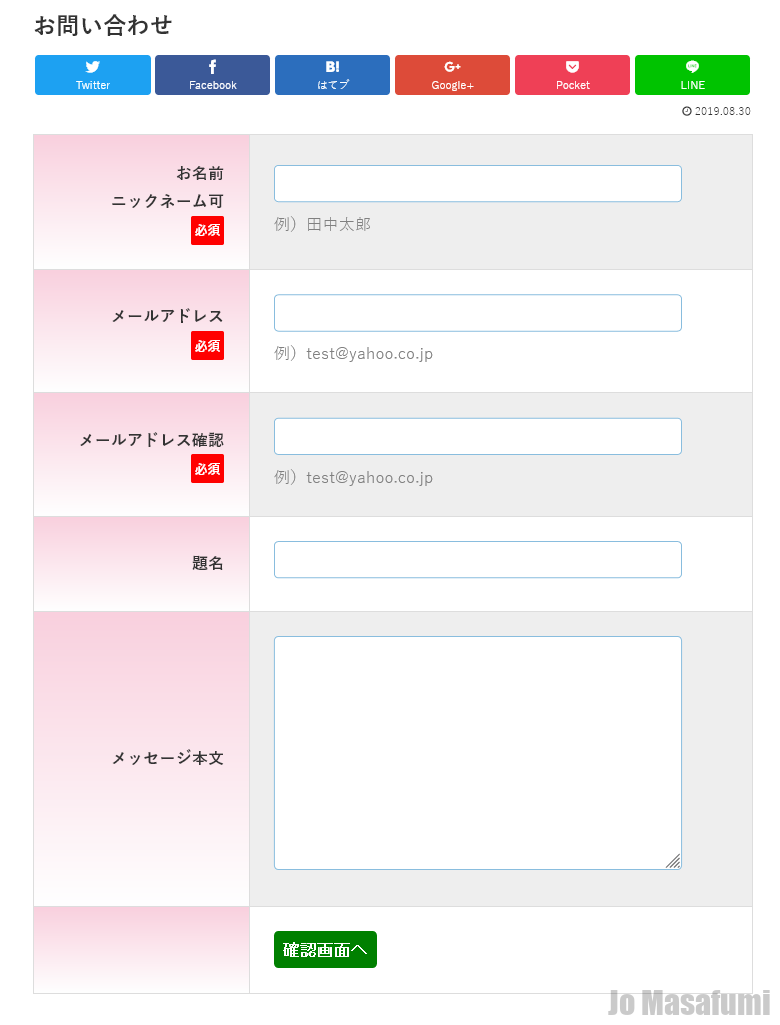
右上の「変更をプレビュー」を押します。
デザインが変更され、キレイになりました。
↑じょうまさふみに学習状況を報告すると喜びます(^^)/